Making and How to Make Model Pathways and Miniature Fences
Christmas Village Displays
Any model house, building, plaza, park, farmyard field or pathway is certainly enhanced when a formal boundary is introduced.
By using a small picket fence, you can create this boundary while not completely obscuring the scenery of your Christmas village, as you can still see through the gaps in the fence.
Lemax sell a particularly good wired roll of fencing, which is cheap to buy and simple to lay out, but making your own fence is even cheaper and very easy, being the perfect handicrafts project for children to be involved in. All you need to make your own at home is some thick cardboard, brown paint, glue and scissors.
First, paint one side of the card with the brown paint and leave to dry. Then paint the other side of the card and also leave that to dry. Cut the card into small rectangular strips to form the wooden slats of the fencing, keeping the widths fairly even (around 5 mm to 6 mm is ideal). Trim these to length (roughly 2 inches / 5 cm) and cut small triangle shapes at the top of each length. You will need roughly 11 pieces to create a 4-inch / 10-cm length of fencing.
Of note, instead of using card, you could always pay a visit to your local model shop and purchase some extremely thin strips of wood frequently sold for crafting purposes.
How to Make Model Fencing
Decide upon the overall length of fencing required for your Christmas village and cut two more thin strips of cardboard to this length.
Then, on a sheet of glass or plastic (something that glue won't stick too, such as a glass chopping board), lay out all of your fencing slats, evenly spacing them out. With a paint brush, apply a little PVA glue and stick one of the long strips lengthways across the vertical strips, close to the bottom, to join them all together.
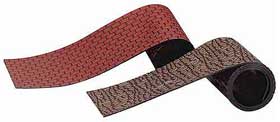
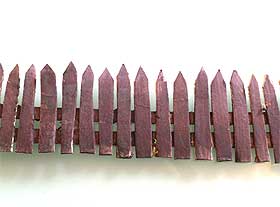
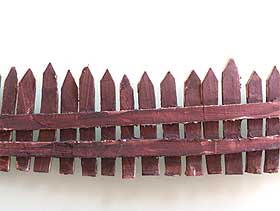
Photos showing the back and front of a homemade cardboard model fence,
(front and back):
Repeat this step with the other length of card, sticking it above the first strip. Leave your fence to dry, making sure that everything is lined up nicely, although it will arguably appear more fence-like if it is not too perfect. Lay a sheet of clear glass or similar on the top, so that it is all firmly held in place together and leave to dry overnight. By using this method, you can make an endless amount of model fences for virtually no outlay whatsoever.
Of note, you could also try collecting ice lolly sticks throughout the course of the year and use these to make a picket fence with, after first cutting them in half.
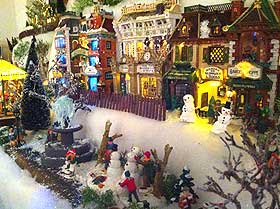
This photograph shows the finished model cardboard fence positioned in a Christmas village setting, providing a realistic boundary for a small park:
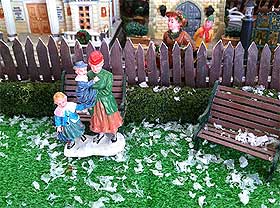
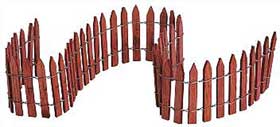
Image of some further miniature fencing. This rather ornate fence is made of plastic and sold by Lemax (named Classic Victorian):
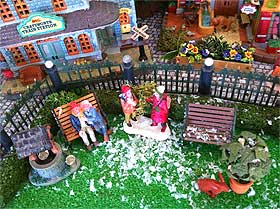
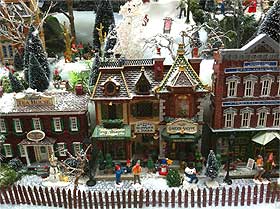
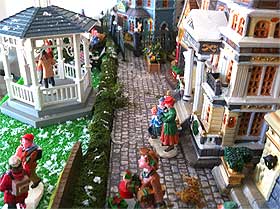
This effective paved pathway has been printed on card (from a computer) and edged with homemade hedging, a model grass mat and a line of lit porcelain Christmas buildings:
Photos of fencing, pebble pathway and road, all of which are supplied by Lemax: